Quickstart
Install canvas-cli, connect it to your school's Canvas, and open your first assignment workspace in about five minutes.
Before You Begin
You need three things, and a fourth if you want the assistant:
- A Canvas account at your school, and permission to create a personal access token. Most schools allow it; a few turn it off for students.
- A terminal on macOS or Linux. On Windows, install with npm instead (Node.js 20.10 or later).
- A folder to work in. canvas-cli keeps its course cache and workspaces in the folder you start it from.
- Optionally, an AI provider: an API key from Anthropic, OpenAI, or Google, AWS Bedrock credentials, or a GitHub Copilot or ChatGPT plan. Browsing, grades, and the timeline work without one.
- 01
Install canvas-cli
curl -fsSL https://raw.githubusercontent.com/reyabsaluja/canvas-cli/main/install.sh | bashThis installs a single binary to
~/.local/bin. If that folder is not on yourPATH, the installer prints the one line to add. On Windows, or if you prefer npm, runnpm install -g @reyabsaluja/canvas-cli. Installation covers every option. - 02
Create a Canvas access token
- Sign in to your school’s Canvas in a browser.
- Open Account → Settings (your profile picture, then Settings).
- Under Approved Integrations, choose + New Access Token.
- Give it a purpose such as “canvas-cli”, optionally an expiry date, and generate it.
- Copy the token now. Canvas only shows it once.
- 03
Sign in
Start canvas-cli from the folder you want to use for coursework:
mkdir -p ~/school && cd ~/school
canvas-cli
With nothing configured yet, it opens the sign-in wizard (if you are already signed in,
canvas-cli loginasks before overwriting). You can also run it any time withcanvas-cli login. The wizard asks for three things, and Esc goes back a step:- Your school’s Canvas address: the one in your browser when you are signed in, such as
school.instructure.com. You can leave offhttps://and/api/v1. - The access token. The wizard first offers to open your Canvas settings page in the browser; answer
nif you already have a token. It is typed hidden and checked against Canvas right away, so a typo or wrong address is caught here rather than later. - An AI provider, or Skip. Pick one, then a model and, if the model supports it, an effort level. AWS Bedrock asks for a region and keys, then offers its model list, with a custom id option. Copilot and ChatGPT (experimental) use your existing plan through their own CLI,
copilotorcodex, which must be installed; the wizard checks, shows the install command, and offers to sign you in.
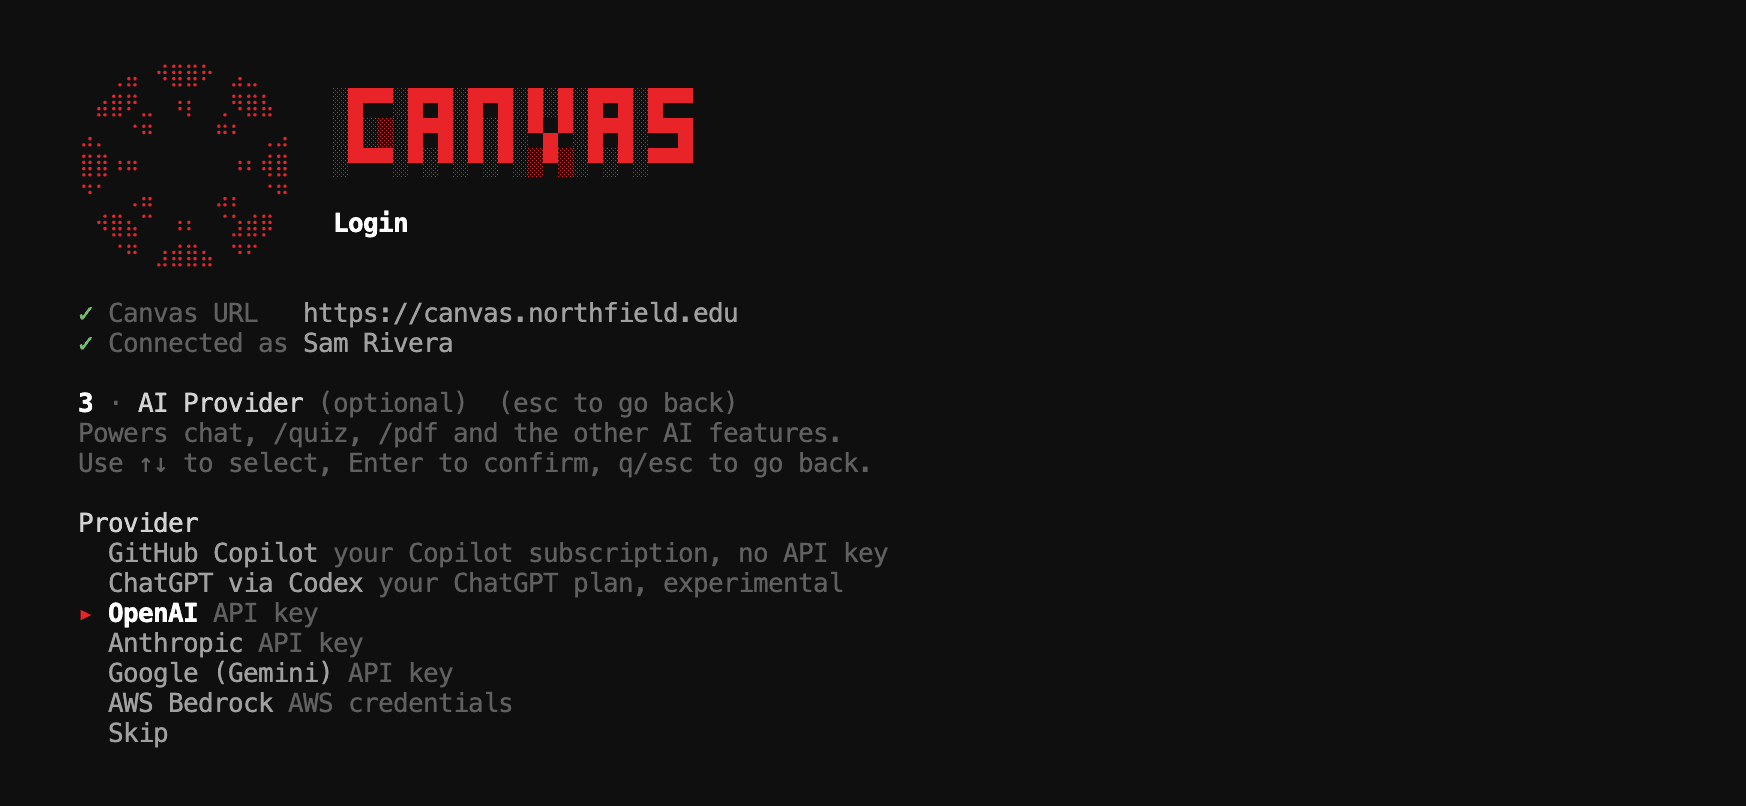
The provider step. The URL and token above it have already been verified. On macOS the token and any API key go into your Keychain. Elsewhere they are saved to files only you can read under
~/.config/canvas-cli. See Credentials. - Your school’s Canvas address: the one in your browser when you are signed in, such as
- 04
Pick your courses
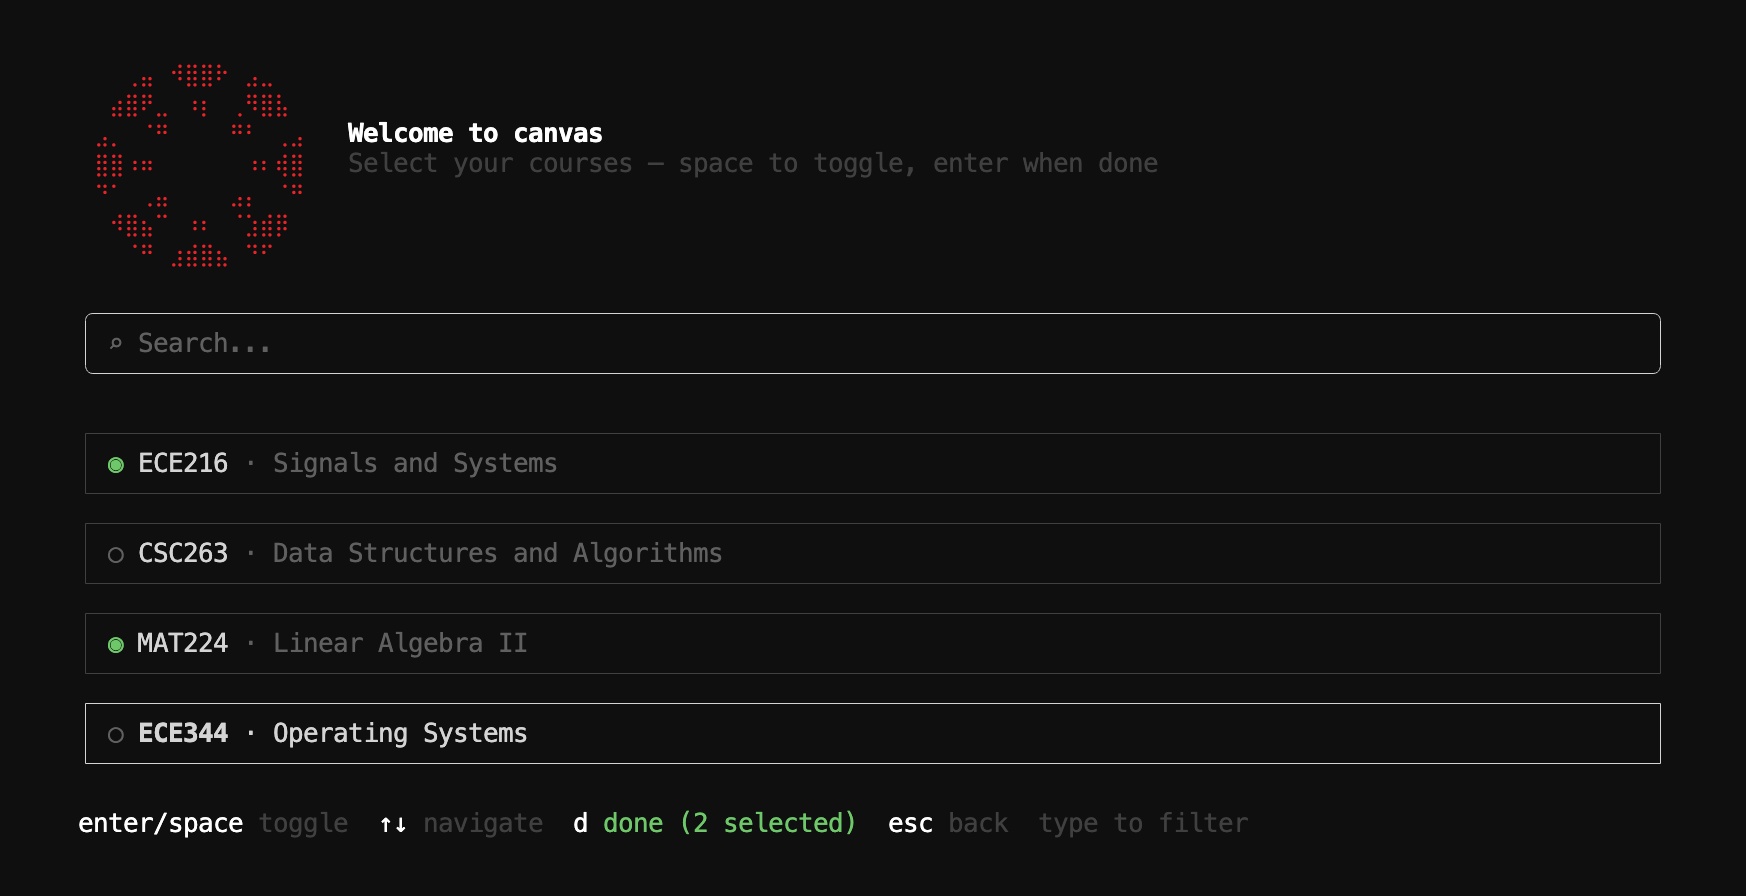
The first time you start canvas-cli in a folder, it lists your current Canvas courses so you can choose the ones you care about. Press Space or Enter to select a course, and d when you are done. Type to narrow the list (except the letter
d, which finishes). Next you can give each one a short name, or press Enter to keep the original.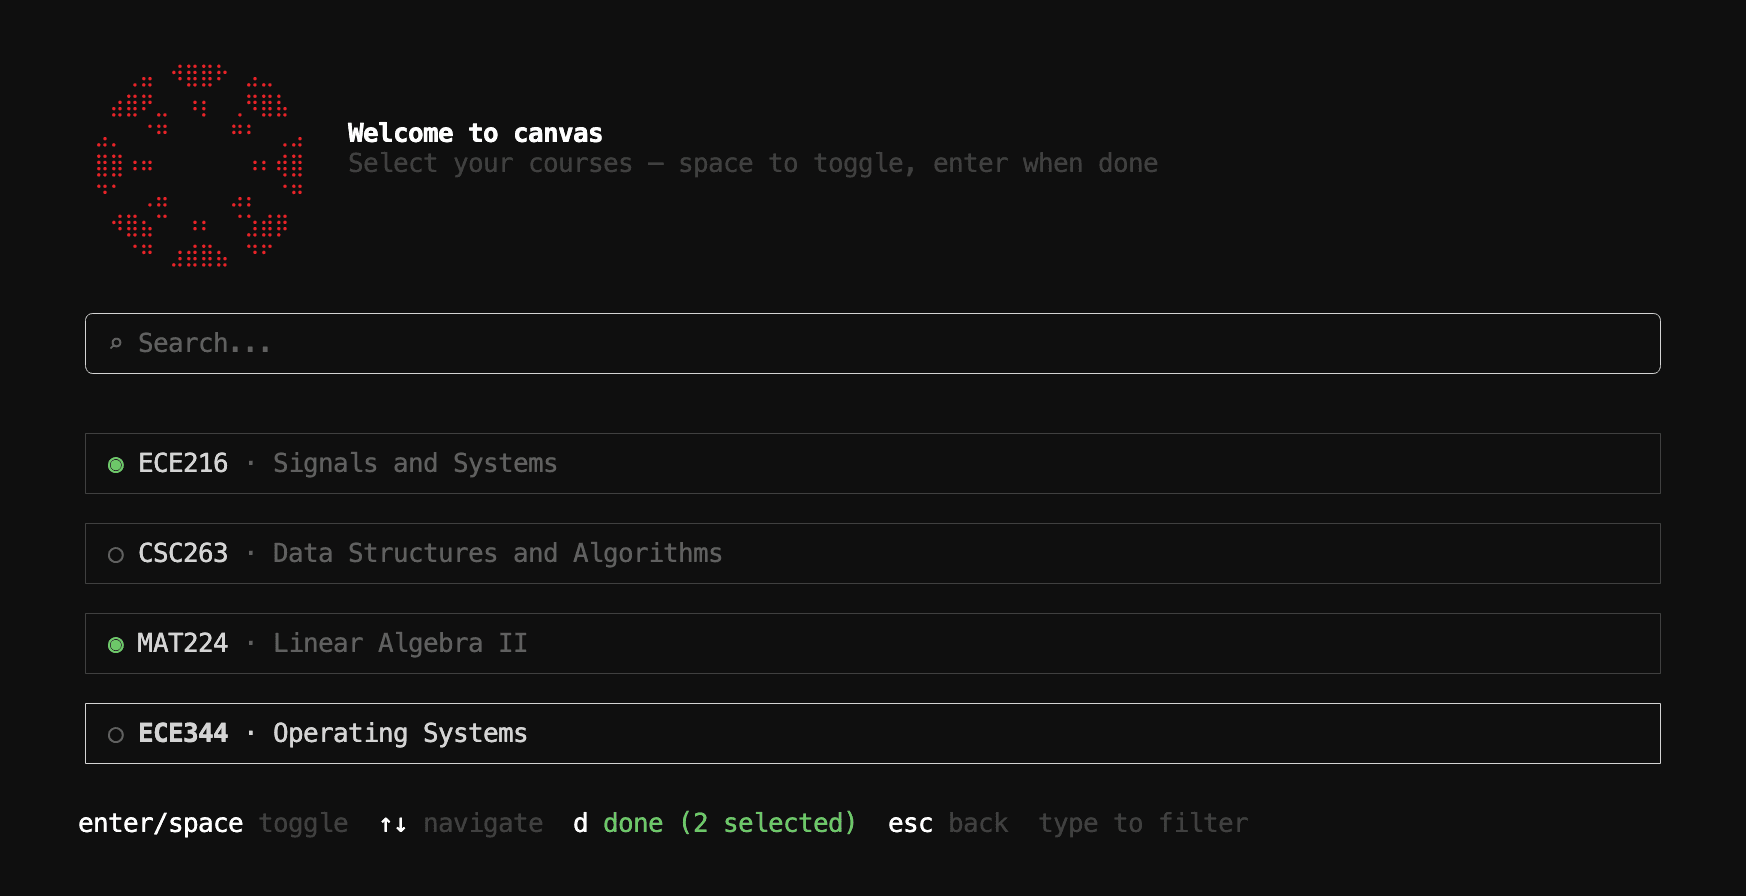
First run in a folder. The footer counts your selection; d finishes. The selection is saved in
.canvas-cli/user-courses.jsonin that folder, so each folder can track a different set. Change it later with/manage-courses. - 05
Open a course
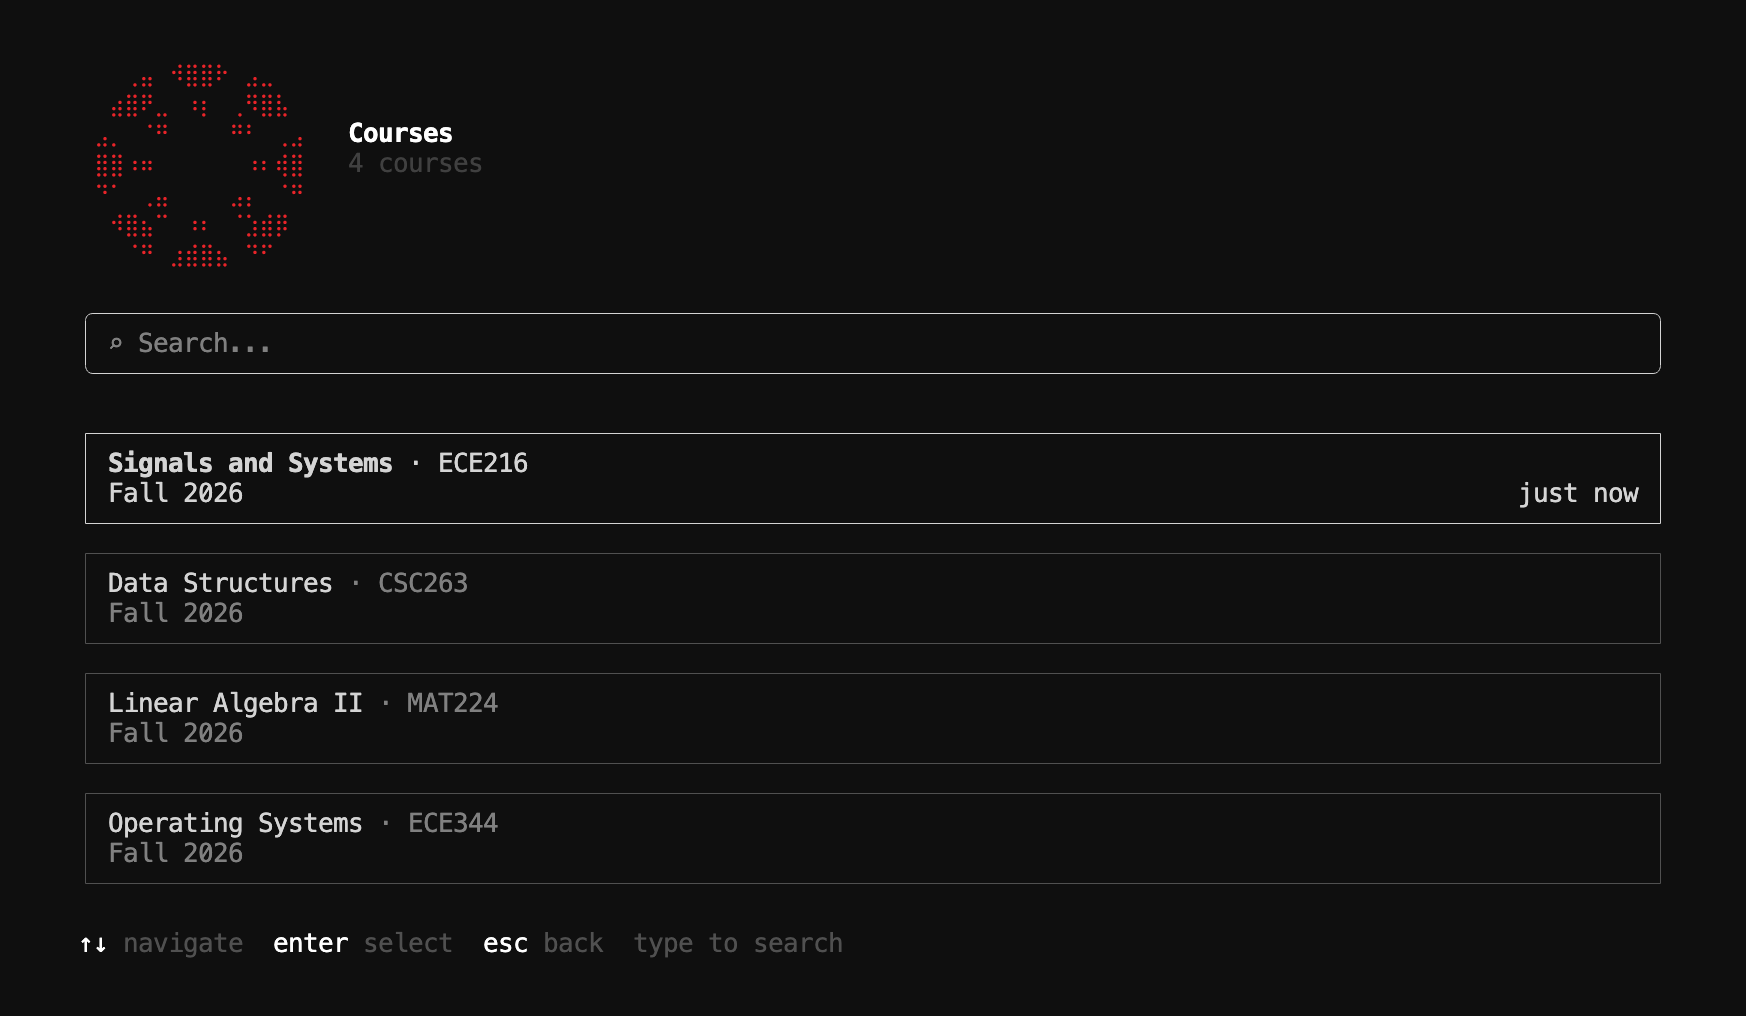
You land in the global home screen. Type
/coursesand press Enter to pick one. Type to filter the list.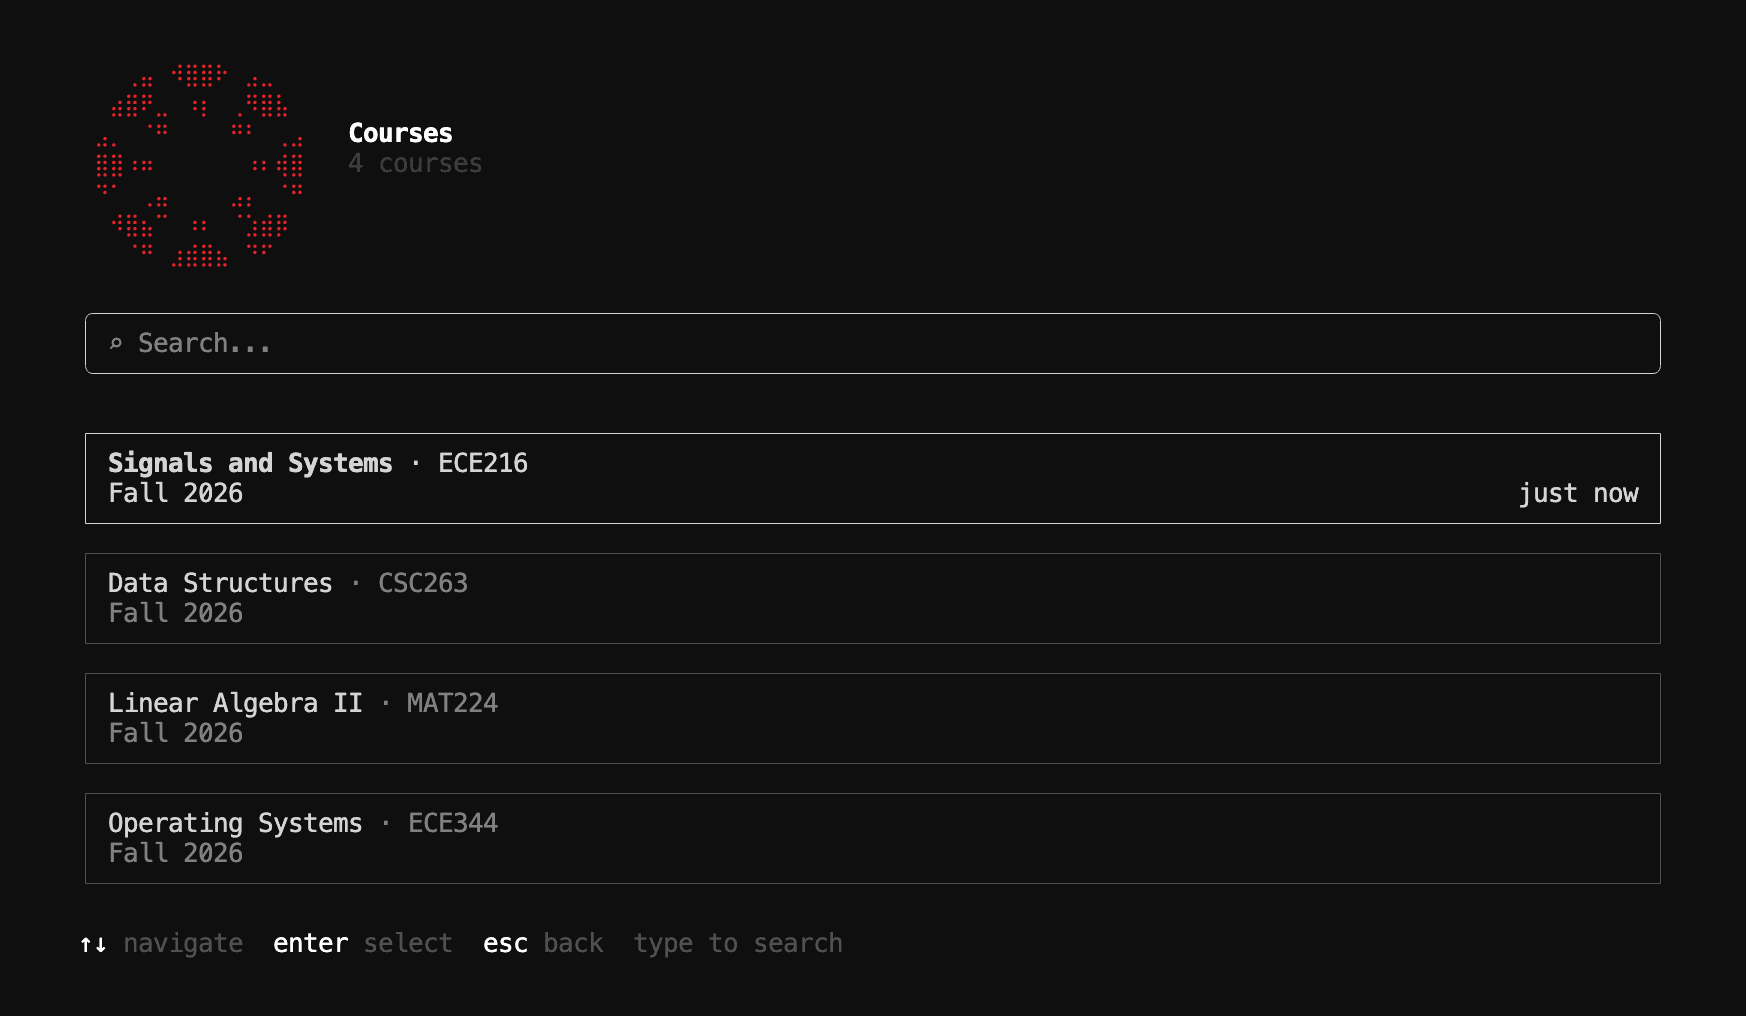
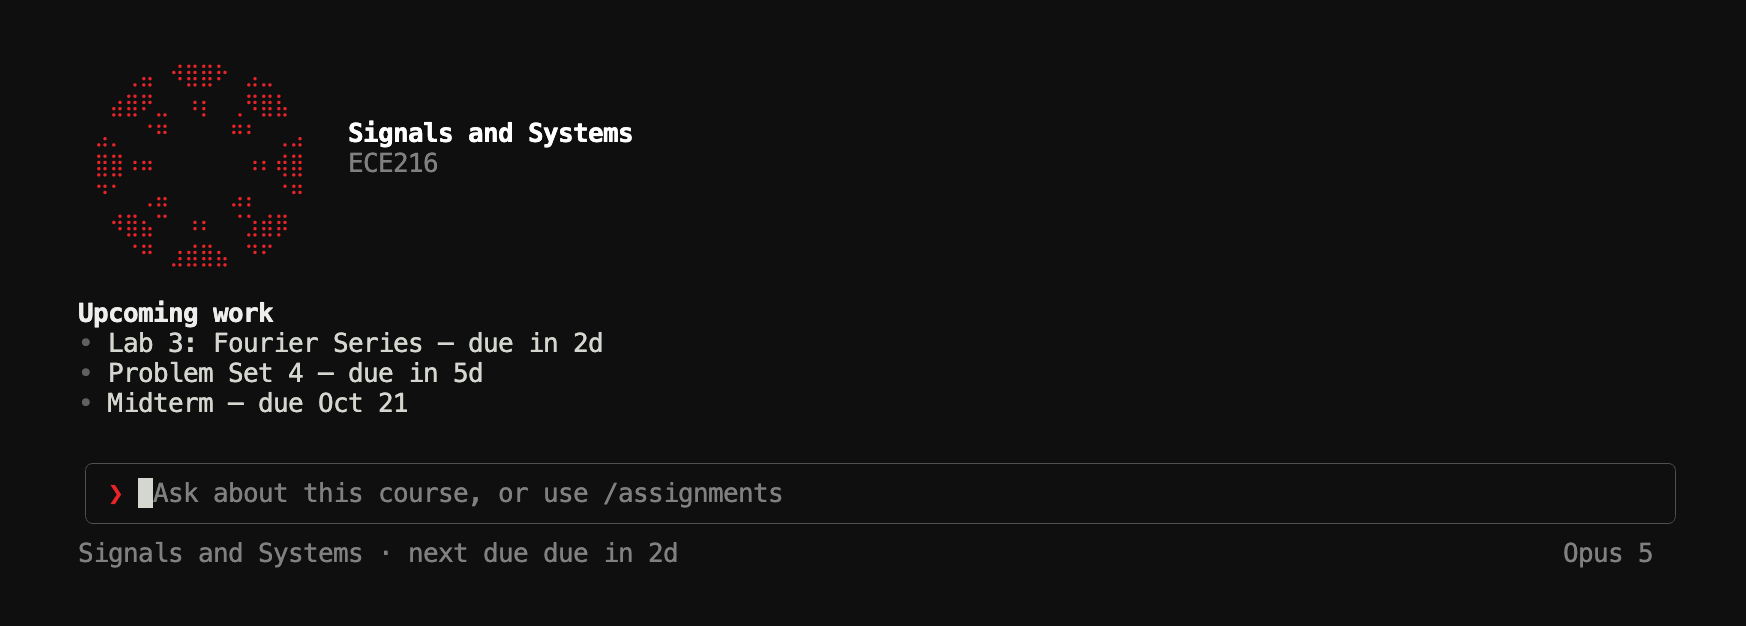
The first time you open a course, canvas-cli downloads it: modules, pages, files, announcements, and the text of every document. It takes a few seconds to a minute depending on the course, and Esc cancels. After that the course opens straight away, with what is due next.
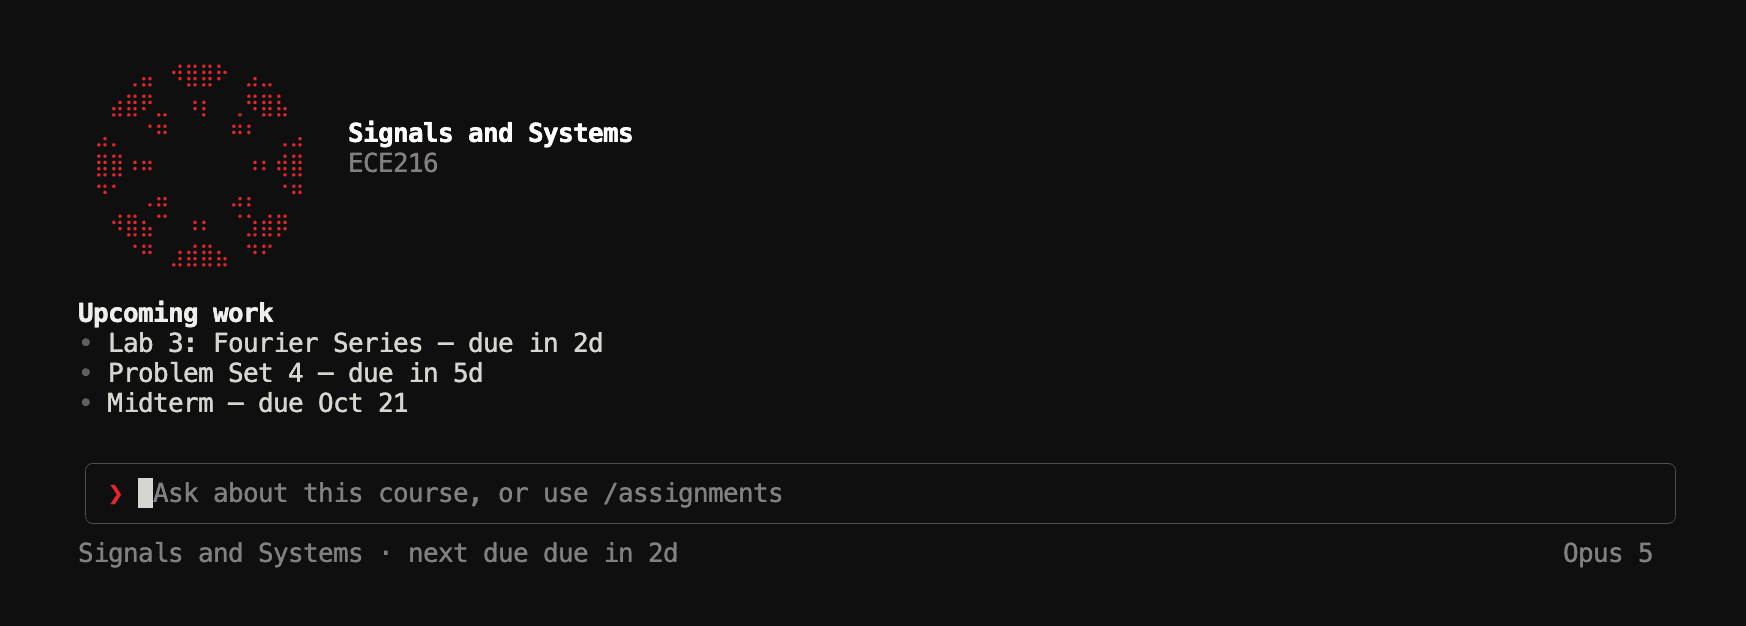
Course scope. Ask about the course, or open an assignment. - 06
Open an assignment
Type
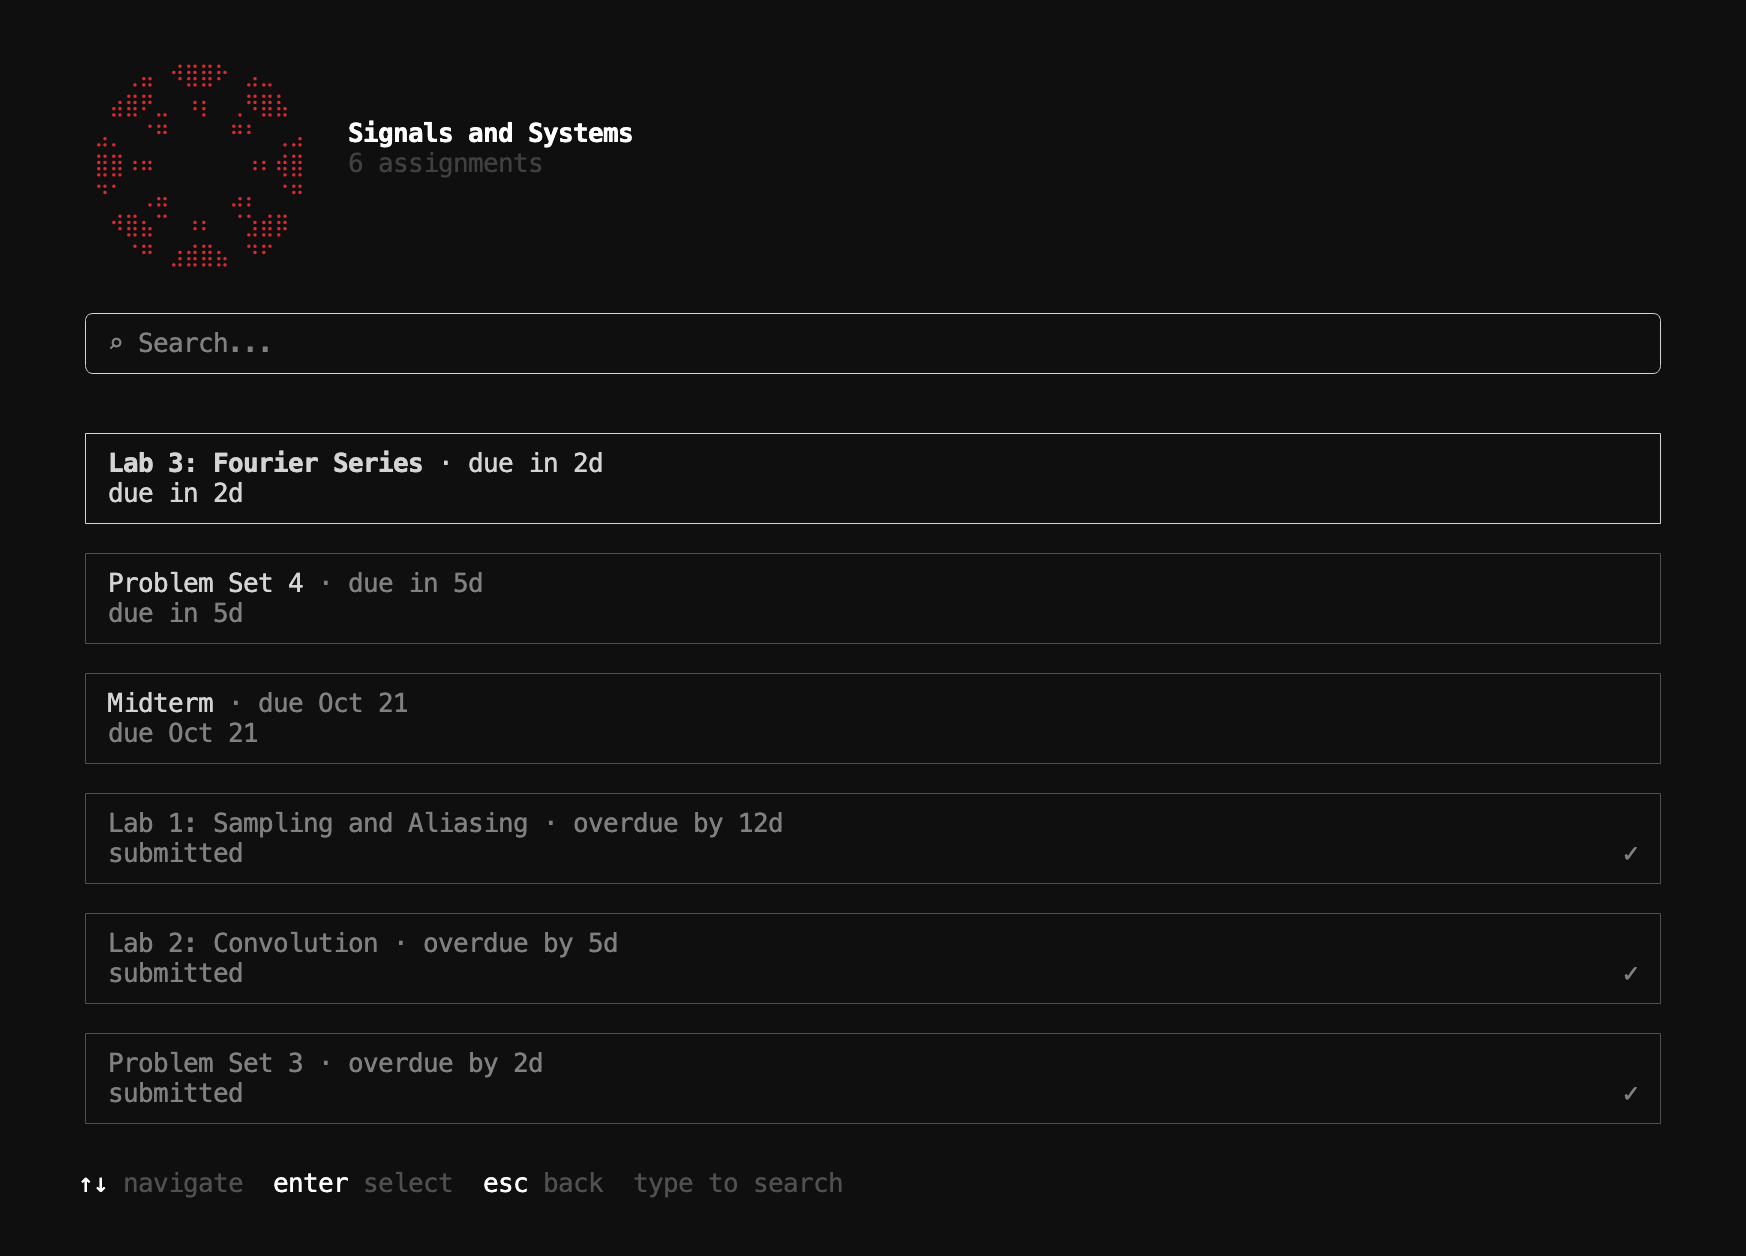
/assignments. Overdue and upcoming work is at the top, and anything already submitted is dimmed with a check mark.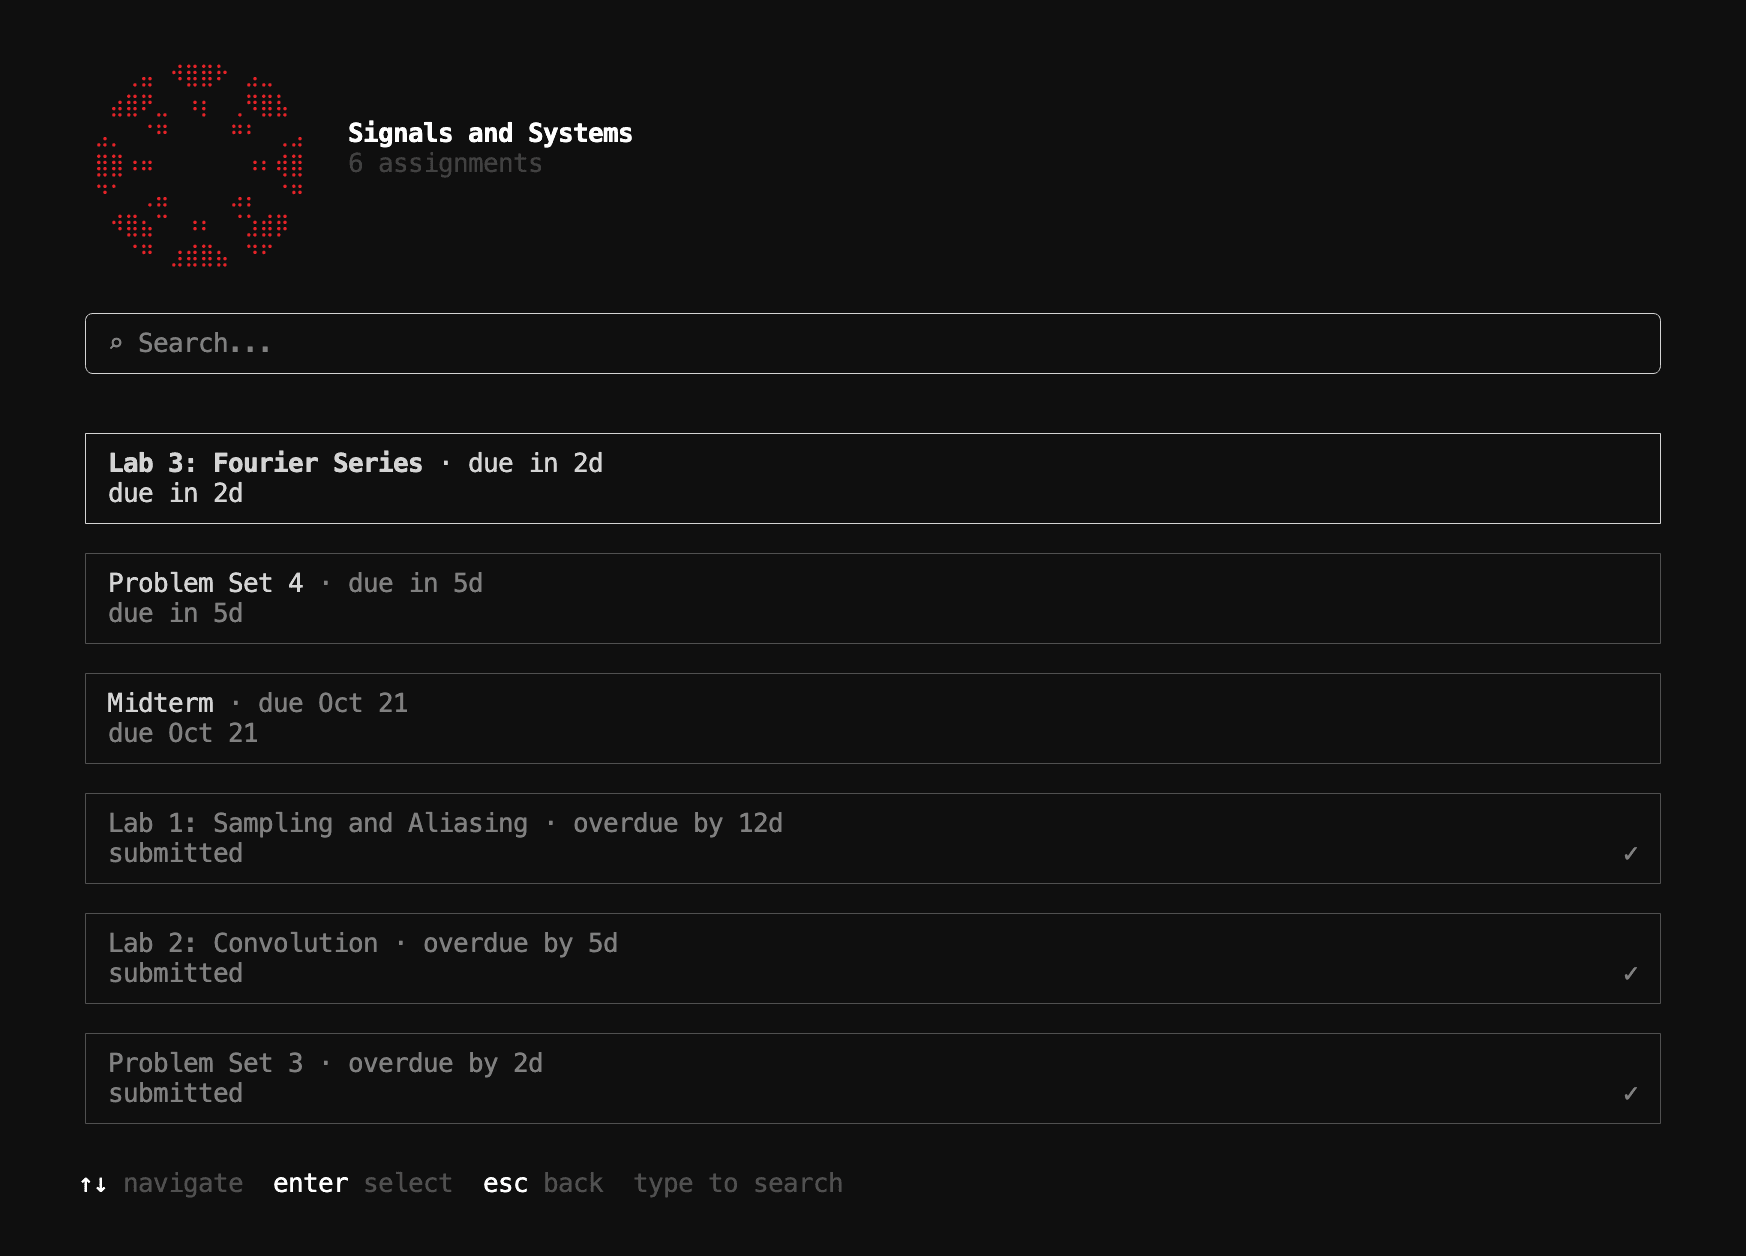
Choosing one builds a workspace: canvas-cli reads the instructions and every document they point to, then writes a brief and a plan. This part needs an AI provider. You see each step as it happens, and the workspace opens with a summary of the assignment.
- 07
Ask a question
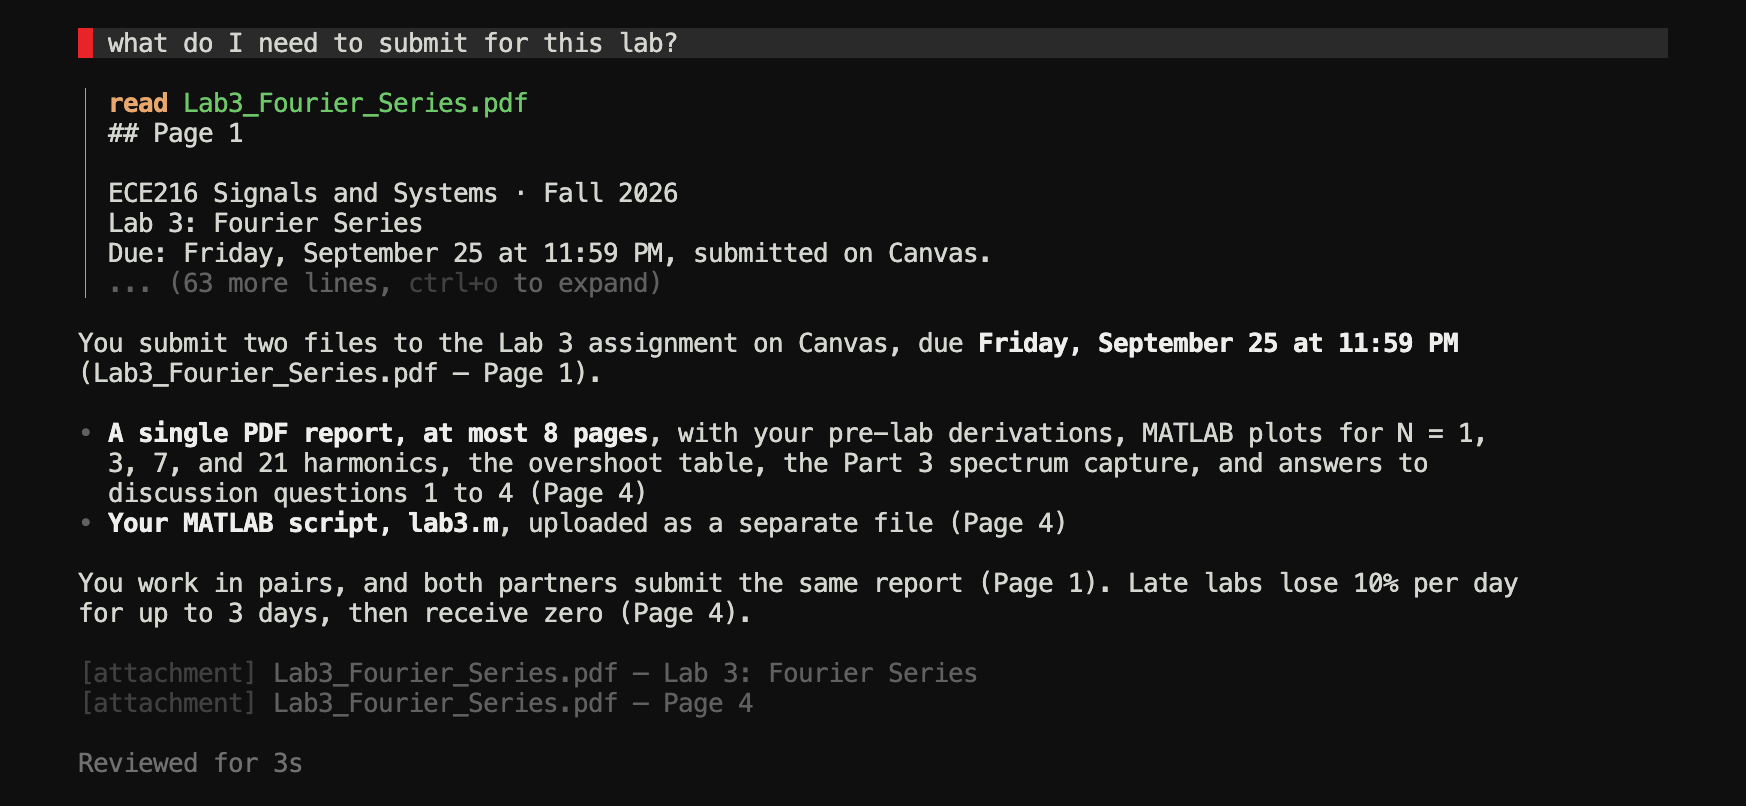
Type a question in plain language and press Enter:
what do I need to submit for this lab?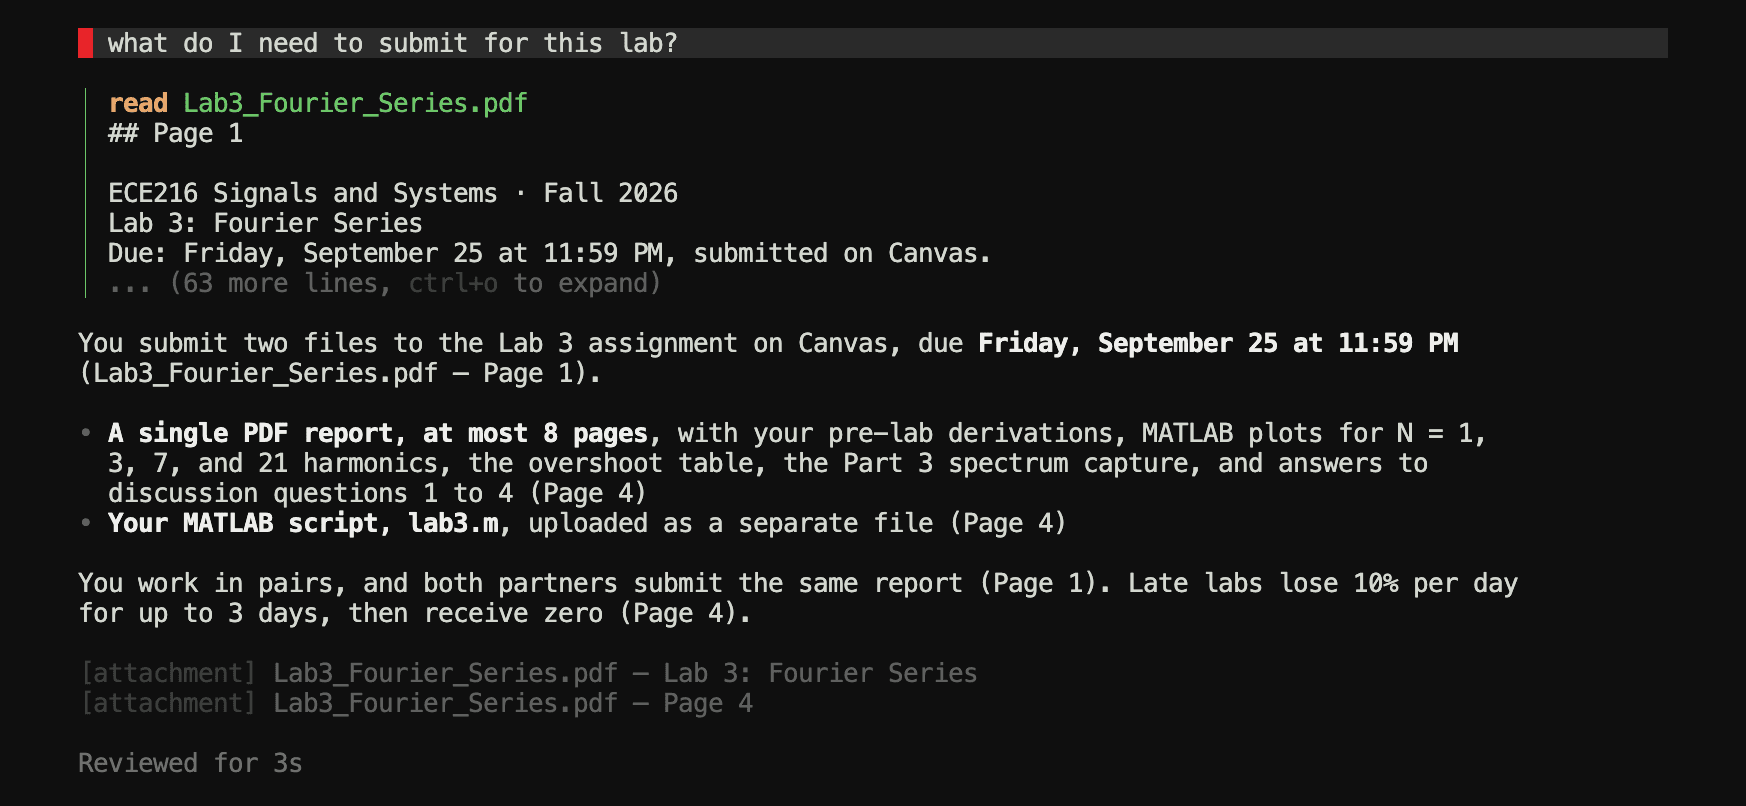
The assistant read the handout before answering. Each claim names its page. Press Esc to stop an answer early, Ctrl+Y to copy it, and type
/helpto see every command available where you are.

Where Next
- The interactive shell: scopes, keyboard shortcuts, and
@pins - Asking questions: what the assistant checks before it answers
- Study tools:
/timeline,/grade,/quiz, and/pdf - AI providers: choosing a model, or using a plan you already pay for